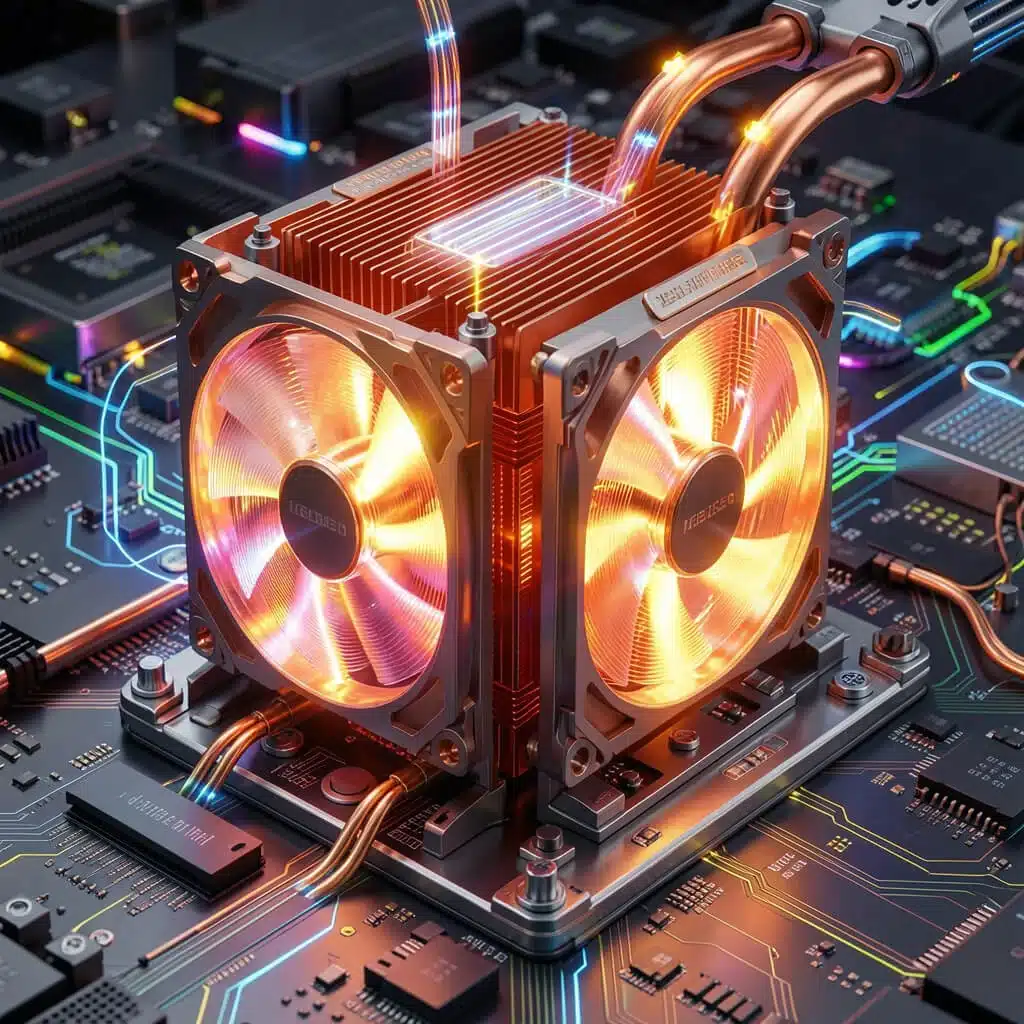
Modern desktop hardware pushes performance boundaries straight out of the box. High-performance processors and graphics cards routinely consume over 300W under peak loads, utilizing sophisticated automated boost algorithms that push silicon close to its limits.
In this environment, traditional manual overclocking has changed. Pushing raw clock speeds no longer yields the massive, free performance gains it did a decade ago; instead, modern performance tuning focuses on precision optimization, voltage discipline, and uncompromising thermal control.
This comprehensive guide details how to tune your system for maximum throughput while safeguarding your components against premature silicon degradation.
Part 1: The Modern Reality of Overclocking (Voltage vs. Frequency)
Before touching a single setting in your BIOS, it is critical to understand how modern silicon responds to stress.
- Frequency is Safe; Voltage is Destructive: Raising clock multipliers safely increases processing speed if voltage remains stable. However, aggressively raising core voltage ($V_{core}$) exponentially increases heat output and accelerates physical transistor degradation through electromigration.
- The Death of Traditional All-Core OCs: Modern CPUs (both AMD Ryzen and Intel Core/Core Ultra lines) feature aggressive out-of-the-box boost algorithms (Precision Boost Overdrive on AMD, Turbo Boost Max on Intel). These chips continuously self-overclock individual cores to their absolute thermal and electrical limits. Forcing a static, all-core manual overclock often decreases single-threaded burst performance while drastically raising baseline heat.
Modern Tuning Strategies Instead of Manual Overclocking
- AMD PBO (Precision Boost Overdrive) & Curve Optimizer: Rather than locking a static frequency, use PBO alongside Curve Optimizer to apply negative voltage offsets. This undervolts the processor while allowing it to boost higher for longer durations because it generates less heat.
- Intel Adaptive Tuning & Power Limits: Comply with robust power limits (such as Intel Default Settings) to prevent runaway voltage spikes that degrade high-end silicon over time, opting instead for optimized thermal profiles and memory XMP/EXPO tuning.
Part 2: Thermal Architecture — The True Governor of Performance
Your cooling system does not just prevent hardware shutdowns; it dictates your sustained performance ceiling. When a CPU or GPU exceeds its thermal threshold, it instantly engages thermal throttling, dropping frequencies and erasing any performance gains achieved through tuning.
1. Air vs. Liquid Cooling Selection
- High-End Dual-Tower Air Coolers (e.g., Thermalright Phantom Spirit, Noctua NH-D15): Highly reliable, maintenance-free, and optimal for mid-to-high-tier systems drawing under 150W–200W. They eliminate pump failure risks and provide quiet, dependable cooling.
- 360mm AIO Liquid Coolers: Essential for high-end multi-core processors (such as Ryzen 9 or Intel Core Ultra 9 flagships) that regularly exceed 250W–300W under sustained multi-threaded rendering or compilation loads. Ensure your chassis has verified physical clearance for radiator thickness and fan stacking.
2. Managing the Thermal Interface Material (TIM)
- High-Performance Paste: Ensure even, complete coverage across the integrated heat spreader (IHS). Micro-airgaps severely degrade heat transfer efficiency.
- Phase-Change Thermal Pads: Modern graphite or phase-change media (like PTM7950) offer long-term stability without the pump-out effect common with traditional liquid pastes over years of heavy thermal cycling.
Part 3: Step-by-Step Performance Tuning Blueprint
Follow this methodical workflow to tune your desktop safely without risking stability or hardware longevity.
Step 1: Establish a Baseline and Stress Test
Before changing any variables, record your baseline metrics using monitoring software (like HWInfo64 and Cinebench / 3DMark):
- Record idle and full-load temperatures.
- Log multi-core benchmark scores and sustained power draw ($TDP / Package Power$).
Step 2: Optimize Memory Subsystems (XMP / EXPO)
Often overlooked, memory bandwidth acts as a major bottleneck for modern CPU architectures.
- Enter your motherboard BIOS and enable your RAM’s high-performance profile (XMP for Intel, EXPO for AMD).
- Validate stability by running an extended memory test. Unstable memory clocks cause subtle data corruption and system crashes that mimic CPU instability.
Step 3: Implement Undervolting / Curve Optimization
To lower temperatures and increase boost headroom safely:
- For AMD Ryzen: Enable PBO and apply a negative Curve Optimizer offset (start at
-10mVand test down to-20mVor lower per core depending on stability). This reduces voltage while maintaining or increasing clock speeds. - For Intel Systems: Apply a slight negative voltage offset (Adaptive/Offset mode) in small increments (
-0.025Vto-0.050V) while monitoring for system crashes under load.
Step 4: Construct Intelligent Fan Curves
Do not rely on erratic default motherboard fan profiles that spike fans to maximum RPM the second you open a web browser.
- CPU Fan Curve: Keep fans whisper-quiet during idle and light tasks (under 50°C), ramp up smoothly to 60–70% speed between 65°C–80°C, and hit 100% only if temperatures approach safety thresholds (85°C+).
- Case Intake vs. Exhaust Balance: Ensure positive or neutral case pressure (more intake than exhaust) equipped with dust filters to prevent internal particulate accumulation, which insulates components and ruins thermal transfer over time.
Part 4: Long-Term Hardware Maintenance for Sustained Performance
Tuning a system for longevity requires ongoing physical and software maintenance:
- Biannual Dust Mitigation: Compressed air cleaning of radiator fins, intake mesh panels, and GPU heatsinks every 6 months prevents thermal resistance creep.
- Thermal Paste Refreshing: For high-performance rigs run continuously under heavy workloads, plan to inspect and replace thermal paste every 2 to 3 years as paste dries out and loses conductivity.
- Monitor VRM and GPU Hotspot Temperatures: CPU core temperature is only part of the equation. Always monitor motherboard Voltage Regulator Module (VRM) temperatures and GPU VRAM/Hotspot readings to ensure localized hot spots are safely managed.